


The original pattern fits an average woman's foot ranging in size from about 7-9ish. I wear about a 10-1/2 shoe and while the original pattern stretches to fit my foot, it's kinda tight. I can make them fit simply by adding a couple rows, one in the foot and one in the heel. Everything else stays the same.
One Hour Slipper Sock
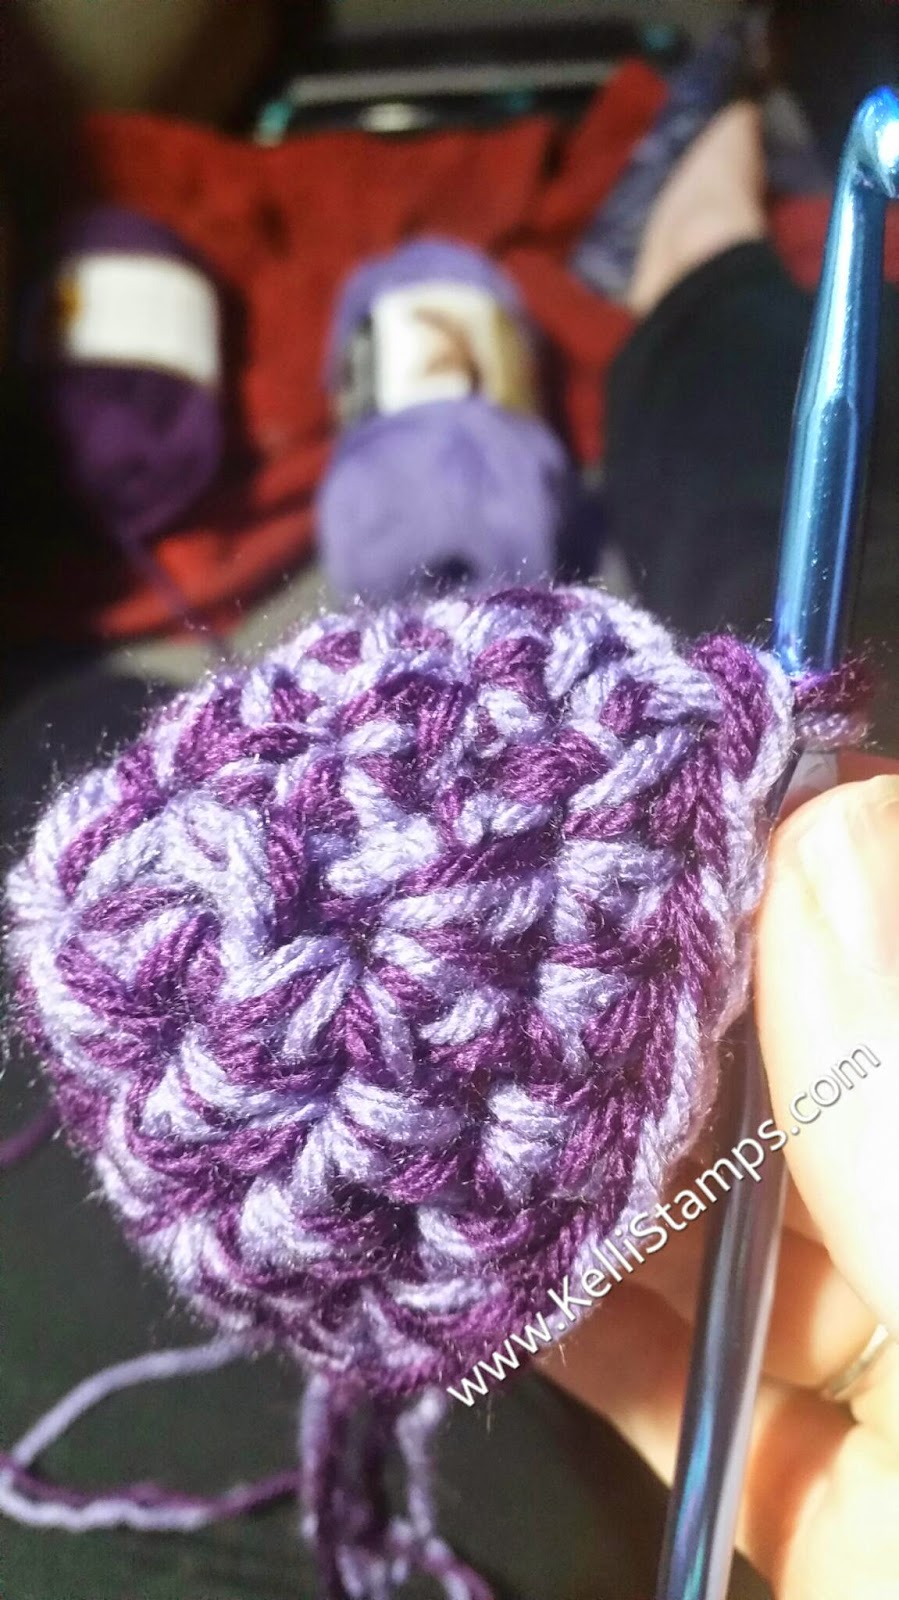
1 - Start with a Magic Circle. Ch 1 (does not count as a stitch here or throughout the rest of the pattern), hdc 6 times in circle. Tighten and join in first hdc. (If you aren't comfortable working with a magic circle, ch 4, join to form a circle. ch 1, 6 hdc inside circle. Join)
2 - Ch 1. 2 hdc in each stitch around. Join (12 hdc)
3 - Ch 1. (hdc in next 2 st, 2 hdc in next st) around. Join (16 hdc)
4 - Ch 1. (hdc in next 3 st, 2 hdc in next st) around. Join (20 hdc)
5 through 14 - Ch 1. hdc around. Join (20 hdc)
Add or remove rows here to adjust the size of your slipper sock.
For the rest of the rows you want to crochet between stitch posts. The reason for this is comfort. If you crochet with the stitches a seam line is created that's just not all that comfortable to walk on. Trust me. Its part of the reason I whipped up my own pattern.
15 - Ch 1. hdc in next 14 st. Turn. (14 hdc)
16 through 21 - Ch 1. hdc in each st. Turn (14 hdc)
Add or remove rows here to adjust the size of your slipper sock.
Finish as originally instructed.
Now, if you want to make some slipper socks for those with wider feet or someone who prefers a looser slipper sock, I have an adjusted pattern just for them. Same yarn, same hook. This pattern fits a wide size 11 woman's foot or a men's size 9ish. The pink slipper sock in the photo below is made using the larger pattern with no additional rows added.

1 - Start with a Magic Circle. Ch 1 (does not count as a stitch here or throughout the rest of the pattern), hdc 8 times in circle. Tighten and join in first hdc. (If you aren't comfortable working with a magic circle, ch 4, join to form a circle. ch 1, 8 hdc inside circle. Join)
2 - Ch 1. 2 hdc in each stitch around. Join (16 hdc)
3 - Ch 1. (hdc in next 3 st, 2 hdc in next st) around. Join (20 hdc)
4 - Ch 1. (hdc in next 4 st, 2 hdc in next st) around. Join (24 hdc)
5 through 15 - Ch 1. hdc around. Join (24 hdc)
Add or remove rows here to adjust the size of your slipper sock.
For the rest of the rows you want to crochet between stitch posts. The reason for this is comfort. If you crochet with the stitches a seam line is created that's just not all that comfortable to walk on. Trust me. Its part of the reason I whipped up my own pattern.
16 - Ch 1. hdc in next 16 st. Turn. (18 hdc)
17 through 22 - Ch 1. hdc in each st. Turn (18 hdc)
Add or remove rows here to adjust the size of your slipper sock.
Finish as originally instructed.
Enjoy making these quick and easy slipper socks. If you love them, hate them or have any questions, let me know! I want to hear from the folks who take the time to try my first ever crochet pattern :)